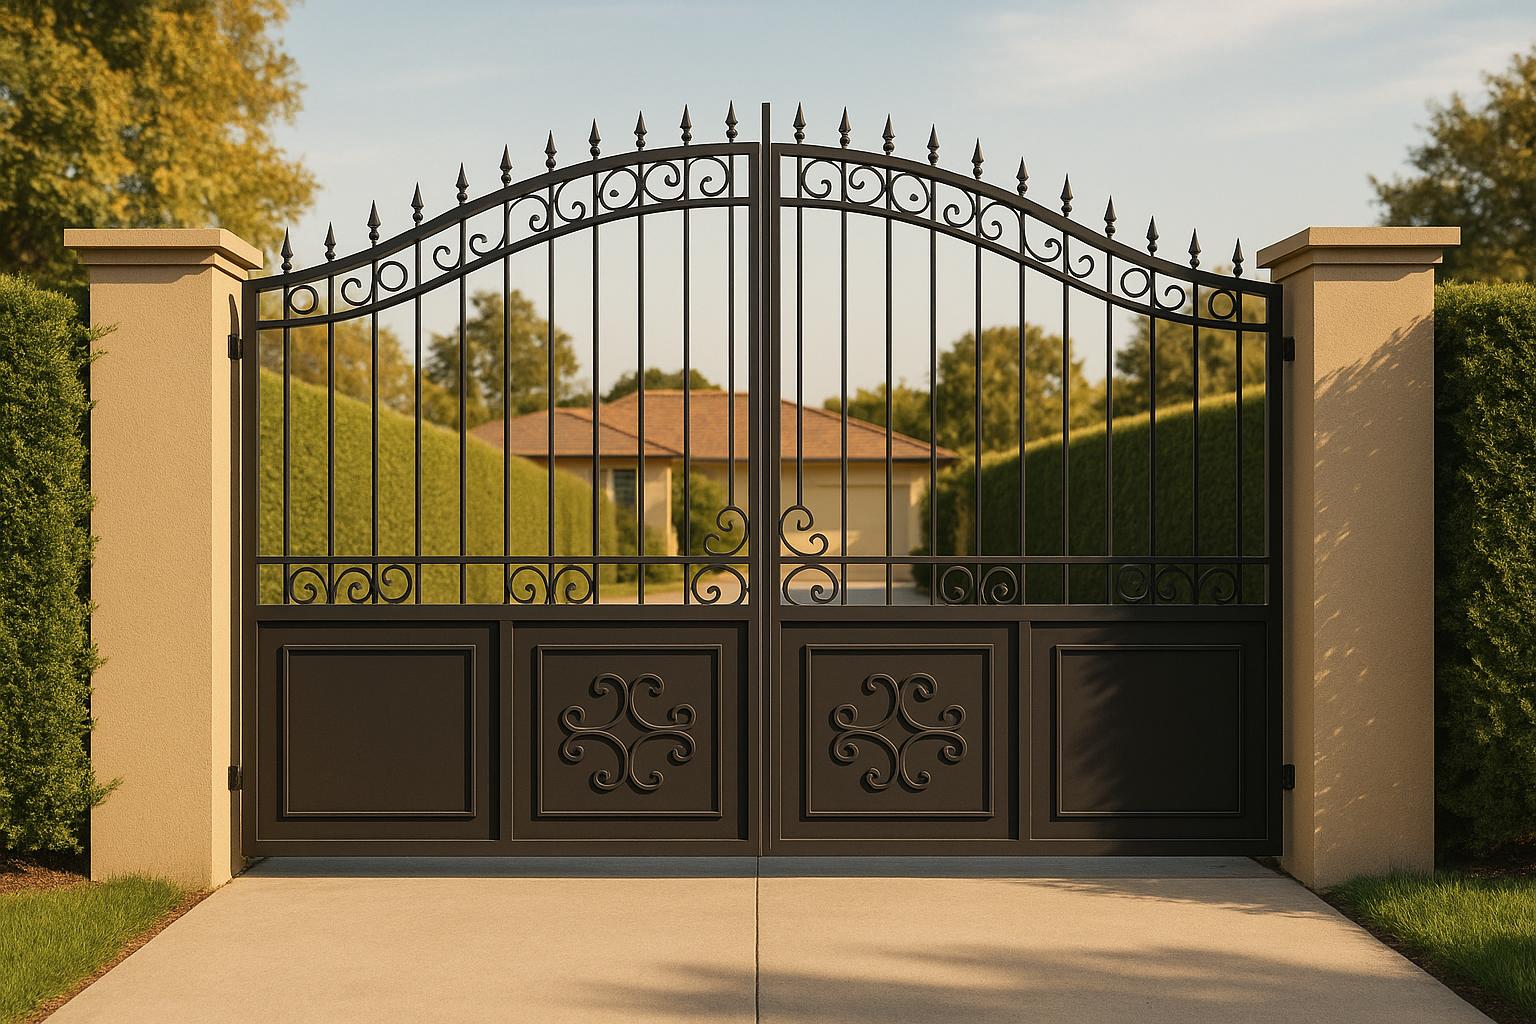
Choosing the right iron gate for your driveway involves balancing design, security, functionality, and compliance with local regulations. Here’s a quick guide to help you make an informed decision:
- Assess Your Driveway: Measure the width, account for slopes, and check for obstacles. Decide between swing or sliding gates based on space and vehicle access needs.
- Set Priorities: Determine key features like height for privacy, locking mechanisms, and automation options (e.g., remote controls, intercoms, or sensors).
- Material Matters: Wrought iron is durable and long-lasting but requires maintenance. Compare it with alternatives like steel, aluminum, wood, or vinyl based on budget and durability.
- Design and Style: Match the gate’s design to your home’s architecture. Choose from custom gates for flexibility or pre-made options for cost savings.
- Installation: Decide between DIY or professional installation. Professional services ensure proper alignment, safety compliance, and durability.
- Maintenance: Regular cleaning, rust prevention, and hinge lubrication are essential to keep your gate functional and visually appealing.
Quick Tip: Wrought iron gates, while more expensive upfront, can last over 60 years with proper care, making them a worthwhile long-term investment.
This guide ensures your gate complements your property while enhancing security and usability.
Check Your Driveway Requirements
Before choosing an iron gate, it’s important to evaluate your driveway’s dimensions and specific needs. This step ensures the gate fits correctly, operates smoothly, and complies with local regulations.
Measure Your Driveway Space
Start by measuring the width of your driveway at multiple points using a tape measure or laser tool. Use the narrowest measurement as your guide. If the driveway is particularly wide, having someone assist you can help ensure a straight and accurate measurement.
Take note of any slopes, as these can affect the gate’s height – especially for inward-swinging gates. Decide on the gate’s height based on your preferences for privacy and security, but don’t forget to check local zoning laws, which might limit how tall your gate can be.
For swing gates, allow an additional 3–4 feet of clearance for proper operation. Sliding gates, on the other hand, need about 1.5 times the gate’s width to slide open fully. Look for any obstacles, like nearby buildings, landscaping, or utility boxes, and think about the size of vehicles that will use the driveway, including service trucks or emergency vehicles.
Identify Your Functional Needs
Think about how you’ll use the gate and what features you need. Measure the entrance to ensure it’s wide enough for vehicles to pass through easily. Determine if a single gate will work for both vehicles and pedestrians, or if you’ll need a separate pedestrian entry.
Modern automated gates come with plenty of access options, such as keypads, remote controls, smartphone compatibility, and intercom systems. Don’t forget about safety features like sensors to prevent the gate from closing on objects or people and alarms for added security. Also, make sure there’s at least 12 feet of clearance for emergency vehicles, as required by many local codes.
Review Local Codes and Regulations
Check that your gate installation complies with local regulations. Reach out to your local fire department to learn about emergency access requirements, such as minimum gate opening widths or setbacks from the road.
Building departments may require permits, specific installation standards, or even periodic inspections. If you’re planning to install an automated gate, electrical codes may require a licensed electrician to handle the wiring and power supply.
Keep in mind the UL 325 standard, which outlines safety guidelines for gate operation, including sensor placement and opening speeds. And before you start digging, call 811 to identify underground utilities – this simple step can prevent costly or dangerous mistakes.
With these measurements and considerations in hand, you’ll be well-prepared to choose a gate design that complements your driveway and meets all your needs.
Pick the Right Design and Style
Once you’ve evaluated your driveway, it’s time to choose a gate design that not only enhances your home’s curb appeal but also meets your practical needs. Make sure the design aligns with the driveway specifications and any local regulations you’ve identified earlier.
Custom vs. Pre-Made Gates
Deciding between a custom gate and a pre-made option can have a big impact on your satisfaction with the final product, as well as your budget.
With custom gates, you get the flexibility to design something that fits your home’s style, driveway shape, and even your local climate. You can customize dimensions, materials, and features like automated openers, intercom systems, or built-in lighting. This is a great choice for unique driveway layouts or specific height and width requirements.
Pre-made gates, on the other hand, are typically more affordable and come in standard sizes. While they’re easier on the wallet, they often require some compromises in terms of design and material options. You’ll need to choose from what’s available, which might not perfectly match your home’s aesthetic or withstand the conditions in your area.
For example, a well-designed wrought iron gate can elevate both the security and value of your property. To dive deeper into how wrought iron gates can make a difference, check out this article on how they add value.
Once you’ve chosen between custom or pre-made, you can refine the design by focusing on the details that matter most to you – whether that’s style or security.
Design Features to Consider
The look and functionality of your gate will largely depend on the design elements you select. To create a cohesive appearance, try to match the gate’s design with your home’s architectural style. For instance, you can incorporate similar arches, geometric patterns, or decorative accents to tie everything together.
Finishes are another important consideration. Powder-coated surfaces are a popular choice because they offer both durability and a variety of color options. You can go for timeless black or choose a custom color that complements your home’s trim or exterior details.
Adding decorative elements like scrollwork, finials, or panels can transform your gate into a striking focal point. Sleek, minimalist designs work well for modern homes, while more intricate, ornate designs are better suited for traditional properties. It’s also worth thinking about your neighborhood’s overall aesthetic, so your gate feels like a natural fit for the area.
Security Features and Durability
While style is important, don’t overlook security and durability when selecting your gate. Look for gates with reinforced frames, strong welding, and reliable locking systems. Whether you prefer traditional locks or smart electronic ones, choose a system that fits your security needs.
Weather-resistant finishes are essential for long-lasting performance. Galvanized coatings can protect against rust for decades, while powder-coated finishes resist corrosion and help maintain color over time. If you live near the coast, you’ll need extra protection against salt air. In areas with extreme temperature swings, choose finishes designed to handle expansion and contraction.
For added convenience and security, consider smart features like automated controls or sensors. These upgrades not only enhance safety but also improve functionality and can increase your property’s value.
Ultimately, investing in high-quality materials and construction ensures your gate will look great and perform well for years to come. When working with a gate design specialist, bring photos of your home and any inspiration images to help them create a design that complements your property perfectly.
Check Material and Construction Quality
The materials and construction methods behind your iron gate play a huge role in how well it holds up over the years. Choosing the right combination ensures your investment is both smart and long-lasting. This foundation of quality ties in perfectly with the design and security aspects we’ve already covered.
Wrought Iron vs. Other Materials
When looking at driveway gates, you’ll come across various material options, each with its own strengths and weaknesses. Understanding these differences helps you pick the one that best suits your needs and budget.
Wrought iron is known for its durability and timeless appeal. Its unique alloy composition improves rust resistance, helping it maintain its beauty for decades. In fact, wrought iron gates often last 60 to 100 years, with some well-maintained examples exceeding a century.
Thanks to its excellent tensile strength and resistance to wear and tear, wrought iron is ideal for gates that see frequent use. It holds up better to repeated opening and closing and handles impacts far better than materials like vinyl or wood.
| Material | Cost Range | Pros | Cons | Best For |
|---|---|---|---|---|
| Wrought Iron | $600–$4,000 per gate | Elegant look, 60–100 year lifespan, high security, customizable | Requires regular upkeep, higher upfront cost, can rust | Traditional homes, high-end properties, long-term use |
| Steel | $600–$4,100 per gate | Strong, secure, durable | Can rust if untreated, heavier than aluminum, maintenance needed | Industrial settings, high-security needs |
| Aluminum | $90–$160 per linear foot | Rust-resistant, lightweight, low maintenance | Less secure, limited design options | Modern homes, coastal areas, budget-conscious buyers |
| Wood | Varies widely | Natural beauty, customizable, traditional charm | Needs frequent maintenance, can warp or rot, shorter lifespan | Rustic or heritage properties, natural settings |
| Vinyl | Lower cost range | Affordable, maintenance-free, won’t rust | Less durable, limited strength, fewer design options | Budget projects, low-maintenance needs |
Steel gates provide similar strength to wrought iron and cost between $70–$120 per linear foot. Aluminum, on the other hand, is a more budget-friendly choice, offering excellent corrosion resistance for $90–$160 per linear foot. While wrought iron might seem costly upfront, its long lifespan often makes it the more economical option over time.
Review Construction Standards
The way a gate is built directly affects how well it performs and lasts. Pay attention to these key construction elements to ensure you’re getting a high-quality product:
- Welding Quality: Look for smooth, even welds with no cracks, gaps, or rough edges. Proper welding ensures strength and prevents moisture from getting trapped, which could lead to rust.
- Frame Thickness: A thicker frame can better support the gate’s weight and resist warping over time. It also provides stronger mounting points for hinges and locks, reducing wear and tear.
- Hardware Strength: Heavy-duty hinges and sturdy locks are essential for smooth operation and preventing sagging. Stainless steel or galvanized hardware is a better choice for resisting corrosion compared to standard steel.
- Protective Coatings: Coatings play a big role in extending a gate’s lifespan. Galvanized wrought iron, for instance, can last 70 to over 100 years. A dual-layer system – galvanization followed by powder coating or painting – offers excellent protection against rust, while powder coatings resist chipping and fading better than regular paint.
- Design Integration: A well-thought-out design ensures the gate’s weight is evenly distributed, reducing stress points. Decorative elements should be built into the structure, not just attached as an afterthought.
When evaluating a gate’s construction, ask about welding certifications, material specifications, and the coating process. Reputable manufacturers are transparent about their methods and often back their products with solid warranties. Spending a bit more on quality construction upfront can save you on maintenance and repairs down the road.
Installation Options and Methods
Once you’ve chosen the perfect iron gate, how you install it plays a huge role in its security and durability. The installation method you select not only affects how well your gate functions right away but also its long-term performance. Knowing your options will help you make the right decision for your needs and budget.
Professional vs. DIY Installation
Deciding between professional and DIY installation depends on factors like your skills, the complexity of the gate system, and how much you’re willing to spend.
DIY installation can save you money upfront and gives you hands-on control over the process. If you’re experienced with tools, concrete work, and heavy lifting, you might handle simpler swing gates yourself. Plus, working on your own schedule means you’ll gain a better understanding of your gate’s mechanics.
That said, DIY installation isn’t without its challenges. It requires advanced skills, proper tools, and a lot of time. Mistakes during installation can lead to operational issues and potentially costly professional fixes down the line. Without warranties, you’re on your own if something goes wrong.
Professional installation, on the other hand, ensures the job is done right the first time. Experts bring the tools and experience needed to tackle tough challenges like uneven ground or integrating automation. They also handle local code requirements, and many offer warranties on their work, which can protect your investment.
"Although more costly upfront, professional installation can avoid pitfalls that might be more expensive to fix." – T&F Iron Works
For automatic gates or sliding systems, professional installation is highly recommended. These systems involve electrical work, safety sensors, and precise wiring that must meet safety and code standards. While professional installation costs more upfront, it can save you money in the long run by avoiding errors that lead to repairs.
Cost considerations vary widely depending on the gate type and complexity. For example, automated gate installation can add $1,000 to $3,000 to the total cost. Sliding gates often cost more due to the need for track systems and precise leveling. Generally, homeowners spend between $3,000 and $8,000 for a complete driveway gate installation, including materials, labor, and basic automation. High-end custom gates can go up to $15,000 or more.
Once you’ve decided on your installation method, the next step is to follow a structured process to ensure everything goes smoothly.
Installation Steps Overview
A successful gate installation starts with careful planning and preparation. Begin by assessing your driveway’s size, slope, and layout to determine the best gate type for your needs.
Site preparation involves measuring your driveway’s width and height to ensure the gate fits perfectly. The slope and grade of the driveway will influence how the gate swings. Be sure to check local regulations for permits, height restrictions, or other requirements.
Post hole preparation is crucial for stability. Dig holes that are one-third the height of the posts, plus six inches for gravel. A depth of at least 36 inches is recommended, deeper if needed to go below the frost line. Be cautious of underground utilities while digging. Proper alignment of the holes is essential for a straight and secure installation.
Foundation and post setting involves adding gravel to the base of the holes for drainage, then centering the posts. Use a level to ensure alignment. For steel gates, plan on using 100-150 pounds of concrete per foot of gate panel length. Aluminum gates require about half that amount. Mix the concrete, pour it around the posts, and let it cure according to the manufacturer’s instructions.
Gate attachment and hardware installation comes after the concrete has fully cured. Attach the hinges to the gate first, then to the posts, ensuring the gate is level and swings smoothly. Maintain a clearance of 3-4 inches from the ground to account for frost heave or ground movement. In regions with heavy snow, consider placing the gate at least 12 inches above ground level. Finally, install latches, locks, and any decorative elements.
Electrical considerations are key for automated gates. These systems require 120V connections, safety sensors, and proper wiring. If using a solar-powered opener, ensure the site gets at least four hours of direct sunlight daily. For complex electrical work, hiring a licensed electrician is a smart move.
Tools and Materials Checklist
Having the right tools and materials on hand can make the installation process safer and more efficient. Proper preparation helps avoid delays and ensures professional-quality results.
Here’s what you’ll need:
- Measuring and marking tools: measuring tape, level, string line and stakes, and a square or angle finder.
- Excavation and concrete tools: post hole digger or auger, shovel, and a wheelbarrow or powered mixer for cement.
- Hardware tools: drill with bits, screwdriver, wrench set, hammers (rubber mallet and regular), and a hacksaw or Sawzall for trimming panels if needed.
- Materials: gate posts, gate kit (including hinges and hardware), concrete mix, gravel, and water. For wooden gates, add timber, wood screws, and galvanized nails.
- Safety equipment: gloves, safety goggles, and other protective gear.
Before starting, check local building codes and HOA requirements. If you’re leaning toward professional installation, get quotes from multiple installers to compare costs and approaches. Careful planning and preparation will ensure your gate operates efficiently and remains a lasting feature of your property.
sbb-itb-cd90297
Maintain and Care for Your Iron Gate
Taking care of your iron gate is essential to keep it looking sharp and working like a charm for years to come. Without regular upkeep, even the best-made gates can fall victim to rust, squeaky hinges, or operational hiccups that might affect both security and curb appeal. A little maintenance goes a long way in preserving your gate’s functionality and ensuring it continues to add value to your property. Follow these steps to keep your gate in top shape.
Regular Cleaning and Inspection
Every 3–4 months, clean your gate with mild soap and warm water to get rid of dirt, salt, and debris. Use a soft cloth or sponge to avoid scratching the finish, and rinse thoroughly with clean water. Afterward, dry the gate completely to prevent water spots and moisture buildup.
Make it a habit to inspect your gate monthly. Look for rust, chipped paint, loose bolts, or any signs of misalignment. If you spot rust, act quickly – use a wire brush or fine sandpaper to remove it, clean the area, apply a rust inhibitor, and touch up with matching paint to stop further damage. If you live near the coast or in a region with harsh winters, you may need to clean and inspect more often since salt air and road salt can speed up corrosion.
For more detailed cleaning tips, check out our guide on how to clean iron doors.
Apply Protective Coatings
Reapply protective coatings every 2–3 years to guard against rust and keep your gate looking its best. Choose a coating that suits your climate. For instance, powder coating is an excellent option – it’s more durable than traditional paint and resists chipping, scratching, and fading.
Before recoating, make sure to prep the surface properly. Clean it thoroughly, sand any rough or rusty spots, and apply a zinc-based primer to improve adhesion and protect against rust. If you live in a humid or coastal area, consider adding a clear sealant for extra protection.
Plan to recoat during dry weather and avoid painting if rain is in the forecast. This ensures the coating cures properly and provides maximum durability.
Maintain Hinges and Lock Mechanisms
Lubricate the hinges every six months using a silicone-based or graphite lubricant to keep them moving smoothly. Wipe off any excess lubricant and test the hinges to ensure they swing freely.
Check bolts, screws, and mounting brackets regularly to make sure they’re secure. Replace any corroded or damaged hardware with stainless steel or galvanized alternatives to extend the life of your gate.
Locks should also get some attention. Test them monthly, clean them with a soft brush, and apply a small amount of graphite lubricant to keep them working smoothly. For hinges and other moving parts, consider applying a thin coat of rust inhibitor or primer to prevent wear and tear.
If you notice squeaking or sticking, address it right away. These could be signs of insufficient lubrication or alignment issues that, if left unchecked, might require more extensive repairs later.
To stay organized, keep a maintenance log noting when each task is completed. This not only helps you stick to a schedule but can also serve as a handy reference for warranty claims or future repairs. With consistent care, your iron gate will remain a stunning and functional part of your property for years to come.
Conclusion: Make the Best Choice for Your Driveway
Finding the perfect iron gate for your driveway starts with understanding what fits your needs best. Begin by assessing your driveway – measure the available space, account for any slopes, and decide between a swing or sliding gate design. Think about what matters most to you: security, privacy, or convenience. These priorities will influence key decisions like the gate’s height, material strength, locking mechanisms, and overall design. These early steps lay the groundwork for a secure and lasting addition to your property.
The quality of materials and construction plays a huge role in how well your gate will hold up over time. Wrought iron, for instance, is known for its durability. A great example of its longevity is a wrought iron fence installed in New York City back in 1771, which, as of 2022, still stands strong.
Professional installation is another factor you shouldn’t overlook. A well-installed gate not only functions better but also lasts longer. At Forever Iron Doors Carolina, advanced 3D imaging and skilled master carpenters ensure precise installations with flawless finishes.
Customization is where you can truly make your gate your own. With custom designs taking about 6–10 weeks, you can create a gate that complements your style and meets your functional needs. A custom gate doesn’t just boost your home’s curb appeal – it also adds to its overall value.
To keep your gate in top shape, regular maintenance is essential. Simple steps like cleaning, reapplying protective coatings, and lubricating moving parts will ensure your gate operates smoothly and stays looking great for years to come.
FAQs
What’s the difference between swing and sliding iron gates, and how do I pick the best option for my driveway?
Swing gates offer a timeless appeal and are often more budget-friendly and straightforward to install. However, they need sufficient space to swing open, either inward or outward, which can be a challenge for driveways with limited room. Sliding gates, in contrast, glide horizontally along a track, making them an excellent choice for saving space. While they tend to provide better security, they come with a heftier price tag and a more involved installation process.
When deciding on the right gate for your property, think about the size and layout of your driveway, your budget, and your security needs. If space is tight or security is a top priority, a sliding gate could be the way to go. But if you’re after a simpler setup and a classic design, a swing gate might suit you best.
What should I know about local regulations and codes when installing an iron driveway gate?
The Importance of Local Regulations for Iron Driveway Gates
When choosing and installing an iron driveway gate, local regulations and codes are key considerations. These rules often require specific permits and compliance with safety standards like UL 325 and ASTM, along with adherence to zoning laws and any applicable HOA (Homeowners Association) guidelines. Restrictions can include limits on gate height, placement, and the inclusion of safety features such as sensors or automatic stops.
Ignoring these regulations can lead to serious consequences – fines, the removal of your gate, or even safety risks. To avoid these headaches, it’s essential to consult with your local authorities or HOA beforehand to ensure your gate complies with all necessary requirements. Taking this step can save you time, money, and potential legal trouble down the road.
What’s the best way to maintain a wrought iron gate to keep it in great condition?
To keep your wrought iron gate looking great and functioning well, routine upkeep is essential. Begin by giving it a good wash using water and a mild soap, paying close attention to detailed areas like scrollwork and corners. Afterward, rinse off any soap residue and make sure the gate is completely dry to avoid moisture buildup, which can cause rust over time.
Don’t forget to check the moving parts, like hinges and handles, every few months. Apply a silicone-based lubricant or lithium grease to these components about twice a year. This helps them operate smoothly and prevents unnecessary wear. With these straightforward steps, you can keep your gate in top shape for years.


